Palworld 1.0 advanced tips
16 Palworld 1.0 Tips for Progression, Combat & Endgame
Use 16 Palworld 1.0 tips to level faster, plan mounts, build stronger Pals, explore new regions, and automate an endgame base.
Short answer
Remove the bottleneck that ends your session
Reduce waiting before raising rewards, finish five-capture bonuses, build a ground-to-flight travel path, use matchups and recall timing, follow the story into Sunreach and the World Tree, and prove each ancient production loop before scaling it.
World setup and early progression
Build a faster opening without removing every challenge
Use world settings, capture bonuses, and player stats to remove dead time while keeping the first hours readable and flexible.
Tune world settings around the time you actually have
Reduce repetitive waiting before raising every reward slider. Death penalties, incubation time, gathering, and drop rates change the feel of the entire save.
Start with friction, not power. A lighter death penalty and shorter egg incubation can make a solo or small-group world easier to resume without turning every resource into a free pickup.
Change one or two controls at a time and keep a note of the original values. Extreme capture, gathering, or drop multipliers can shorten progression so much that technology and base upgrades stop feeling meaningful.
Do this next
- Back up an established world before changing several settings.
- Reduce waiting first; raise resource multipliers only when a real bottleneck appears.
- Agree on settings before a multiplayer group invests in the save.

Use the five-capture bonus to level while expanding your roster
Palworld 1.0 reduced each species' Capture Bonus requirement from twelve captures to five, so early variety now pays off sooner than the source screenshot suggests.
Open the Paldex before clearing a familiar area and check which nearby species still have Capture Bonus progress remaining. Capturing useful duplicates can advance experience while also supplying workers, combat options, breeding material, or condensation stock.
Do not keep catching the same easy target after its useful bonus is complete merely because it was efficient in an older route. Move to a new habitat or mission objective and let exploration expose the next set of species.
Do this next
- Check Capture Bonus progress in the Paldex before throwing spheres.
- Prioritize species that also fill missing work or combat roles.
- Carry enough spheres to finish a five-capture set without ending the trip early.

Prioritize Weight and Stamina before niche player stats
Weight usually removes the most early friction, while Stamina supports travel, climbing, gliding, gathering, and longer fights. Work Speed is a situational third choice.
Early damage and survival improve through equipment, Pals, food, movement, and preparation as well as player points. Carry capacity is harder to replace when every gathering trip ends with slow movement or an emergency return.
Stamina becomes more valuable when a route includes long climbs, repeated dodges, manual gathering, or gliding. Add Work Speed only if your playstyle depends on personal crafting rather than letting Base Pals handle production.
Do this next
- Take Weight when inventory limits repeatedly end productive trips.
- Take Stamina when movement or gathering is the real bottleneck.
- Treat Work Speed as a playstyle choice, not a mandatory early stat.
Exploration and mount planning
Turn the map into a route instead of a collection of detours
Plan a ground-to-air mount path, record valuable discoveries, and use watchtowers and fast travel to reduce repeated travel.
Plan a ground, glide, and flight progression instead of chasing one mount
An early ground mount solves speed, a gliding partner helps vertical routes, and a flying mount changes reconnaissance. Eikthyrdeer, Celaray, and Nitewing are examples, not mandatory picks.
Choose the first mount that solves the terrain in front of you. Ground movement is efficient on roads and open biomes, while gliding helps with controlled descents and short gaps before full flight is practical.
Flight is a major exploration upgrade, but saddle levels, partner-skill behavior, stamina, and comparative speed can change. Check the current Technology tree and Pal details before committing materials to an old recommended level.
Do this next
- Use a ground mount first when roads and resource loops dominate.
- Add a gliding option for cliffs, ruins, and safe descents.
- Unlock flight when reconnaissance and vertical access justify the cost.

Mark Lifmunk Effigies and resource stops before leaving an area
Use map markers for caves, ore, skill-fruit trees, dungeon entrances, and missed Lifmunk Effigies so later collection runs follow a route instead of repeating a search.
A marker is most useful when it describes a future action: return with a better pickaxe, collect at night, bring cold protection, or revisit after unlocking flight. Avoid filling the map with unlabeled symbols that no longer explain why the place mattered.
Night and aerial viewpoints can make glowing collectibles easier to see. Collect Effigies as part of an existing route and use the current Statue of Power interface to confirm how the upgrade applies in your build.
Do this next
- Create a small, consistent marker legend.
- Add the reason for returning in your own notes when possible.
- Combine Effigy collection with fast-travel and resource loops.

Activate watchtowers early and separate confirmed rewards from route rumors
Version 1.0 watchtowers reveal nearby map areas and become fast-travel points. Use them as route anchors before clearing optional ruins or tower activities.
A newly activated watchtower provides both information and a return point, which makes it more valuable early than an isolated loot detour. Reveal the area, identify the nearest settlement or objective, and then plan a loop that ends near fast travel.
The source screenshot also assigns specific rewards to special towers. Treat those exact experience, blueprint, or technology-point claims as current-build tests until the tower name and reward panel are visible in your own game.
Do this next
- Reach the nearest watchtower before exploring the entire surrounding biome.
- Use fast travel to bank rare materials before testing optional content.
- Read the live reward panel before promising a fixed tower payout.
Combat and Pal growth
Build around matchups, control windows, and verified upgrade costs
Use elements and recall timing before raw damage, then treat passive, breeding, and star investments as separate layers.
Read the matchup, then use recall as a defensive tool
Element advantage matters, but exact percentage charts become stale quickly. Recall a Pal before a large telegraphed hit, then redeploy after the danger window.
A favorable element is useful only when the Pal can stay active and land its skills. Watch enemy telegraphs, terrain, and cooldowns instead of treating the matchup chart as an automatic win.
Recalling a Pal can remove it from the path of a slow, high-damage attack. Practice the timing against a repeatable encounter before depending on it during a long boss attempt, and verify the current element relationships in the live Pal information screens.
Do this next
- Bring at least one safe matchup instead of five copies of the same weakness.
- Recall before the impact, not after the health bar drops.
- Redeploy where the Pal has room to use its next skill.

Build a control chain before stacking four unrelated passives
A team that applies, extends, and exploits a status can outperform a collection of isolated bonuses. Wet, freezing, and electric effects are a route to test, not a guaranteed formula.
Start with the effect you can apply reliably, then choose a second Pal or skill that benefits from the opening it creates. The practical goal is more safe damage time, fewer interrupted attacks, or a predictable capture window.
Status resistance, boss immunity, application chance, duration, and elemental interactions can change by encounter or patch. Test the complete sequence on the target type you actually intend to farm before rebuilding an entire team around it.
Do this next
- Choose one repeatable setup effect.
- Add one payoff that clearly benefits from the control window.
- Measure consistency before adding more complexity.

Use specialized cakes to influence breeding, not to promise perfect inheritance
Version 1.0 cakes can influence stats, egg count, mutation chance, or passive inheritance. The screenshot's universal 100% inheritance claim should not be treated as confirmed.
Decide the breeding goal before consuming a rare cake: preserve a passive, increase output, chase a mutation, or improve another outcome. Mixing goals wastes materials and makes the result harder to evaluate.
Tooltips and facilities should be checked on the current build because item names, technology levels, recipes, and inheritance behavior are balance-sensitive. Record the parents, cake, and result if you are testing a repeatable route.
Do this next
- Choose one breeding objective per test batch.
- Read the current cake and facility descriptions before crafting.
- Do not advertise 100% inheritance without repeatable current-build evidence.

Reserve Starfruit and other rare upgrades for a finished role
Do not spend a rare star-rank item simply because a Pal is uncommon. Finish its job, passives, and long-term place in the team first.
A high-investment Pal should already have a clear purpose: worker, travel mount, raid specialist, arena build, or favorite generalist. Rare upgrade items amplify a plan; they do not repair a confused build.
The supplied screenshot presents Starfruit as a direct star-rank shortcut. Treat its exact sources, limits, and upgrade behavior as source-footage guidance until the current item description and result screen are independently checked.
Do this next
- Finish the Pal's role and passive plan first.
- Compare the upgrade with cheaper condensation or Soul improvements.
- Save one reserve item until a current-build test confirms the outcome.
Sunreach and the World Tree
Follow the story gate before building an endgame farming route
Use the reworked main mission to reach the new regions, then separate confirmed resources from unverified shortcuts and reward routes.
Use the main mission to move from Sunreach toward the World Tree
Sunreach and the World Tree are official 1.0 destinations tied to the reworked story. Follow mission gates instead of relying on a shortcut copied from a different build.
Reveal the route with watchtowers, complete the mission objectives that unlock the next stage, and establish a safe return point before carrying rare materials deeper into a new region.
Sunreach introduces Soralite and specialized progression, while the World Tree is framed as the major endgame challenge. Exact tower order, access requirements, entry level, and fastest path still need release-build evidence.
Do this next
- Finish the active mission step before traveling to a distant marker.
- Activate travel points and store valuable materials between objectives.
- Treat route maps as patch-specific unless the game build is shown.

Secure storage and protection before farming World Tree resources
Paloxite, Ancient Civilization Relics, and Radiant Gems are confirmed World Tree rewards. Test the route and any resource-preservation effect before planning a permanent farm.
Make the first trip a reconnaissance run: identify the hazard, resource, nearest return point, carry limit, and expected escape route. A short safe loop is more useful than a large haul that cannot be banked.
The source material describes special water or passive effects that protect local resources. The official notes confirm the resources, but not every protection method or duration shown in the screenshot. Keep those methods labeled as current-build tests.
Do this next
- Mark the deposit and nearest safe return point.
- Measure respawn or depletion behavior before scaling the route.
- Verify any protection buff in the live tooltip and with a controlled test.
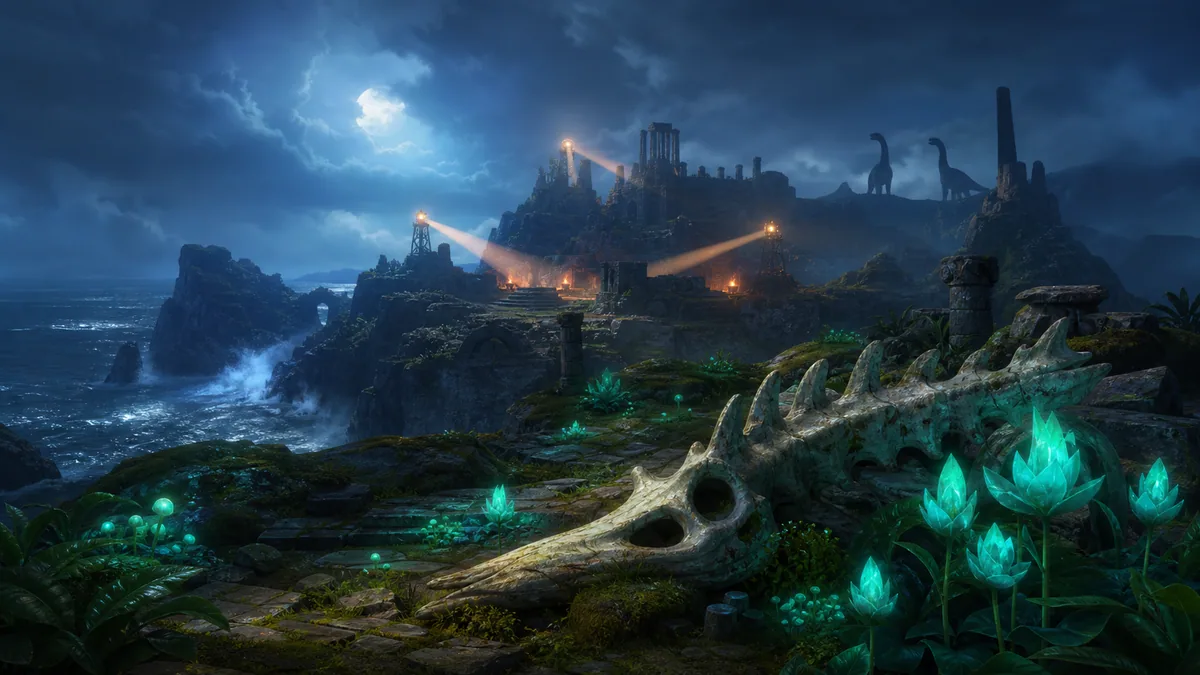
Enter renewed sanctuaries for encounters, materials, and active defenses
Version 1.0 rebuilt Wildlife Sanctuaries with distinct environments, exclusive encounters, rare materials, bosses, and defenses. Prepare for a route, not a free gathering stop.
Leave inventory space, bring the protection and capture supplies appropriate to the environment, and decide whether the trip is for a Pal, a material, or a boss. Trying to complete every objective on the first entry increases the chance of losing the entire haul.
The screenshot highlights Ancient Bones as a valuable reward. Rare materials are officially confirmed, but exact Ancient Bones islands, drop rates, patrol paths, and best farming loops need current-build verification.
Do this next
- Choose one target before entering the sanctuary.
- Bank the first rare drop before extending the route.
- Record the build and location when publishing a material claim.
Endgame bases and ancient technology
Automate stable loops before chasing maximum difficulty
Use aquatic construction, specialized workers, ancient processing, and measured expeditions to turn rare resources into repeatable output.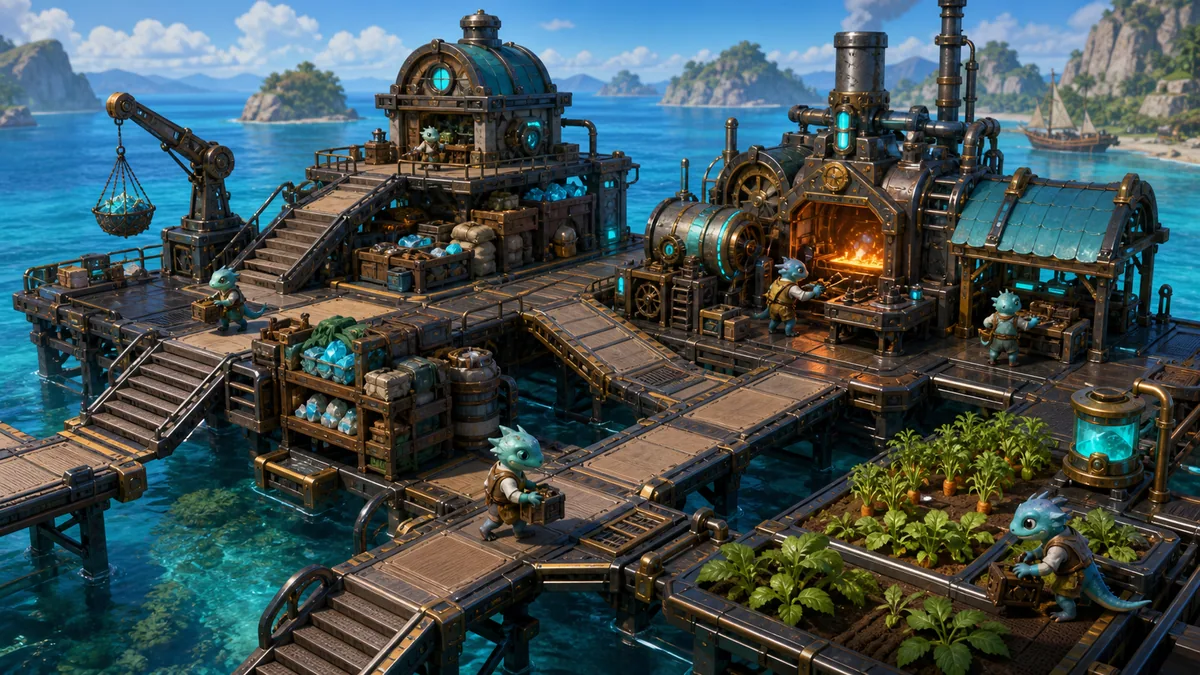
Design a water base around access and worker coverage
Aquatic Construction is an official 1.0 system. Prove pathing, storage access, and worker coverage on a small platform before expanding an offshore production base.
Begin with a transport path, storage, food, beds, and one production test. A visually impressive platform is not useful if Pals cannot reach the station or materials move through multiple slow handoffs.
The screenshot assigns exact unlock levels and simultaneous fire-and-cooling requirements to specific ancient workstations. Check the current Technology tree and station panel before using those numbers as instructions.
Do this next
- Build one small pathing test before the full platform.
- Place storage next to the first station that consumes the material.
- Add specialized workers only after the station can stay supplied.
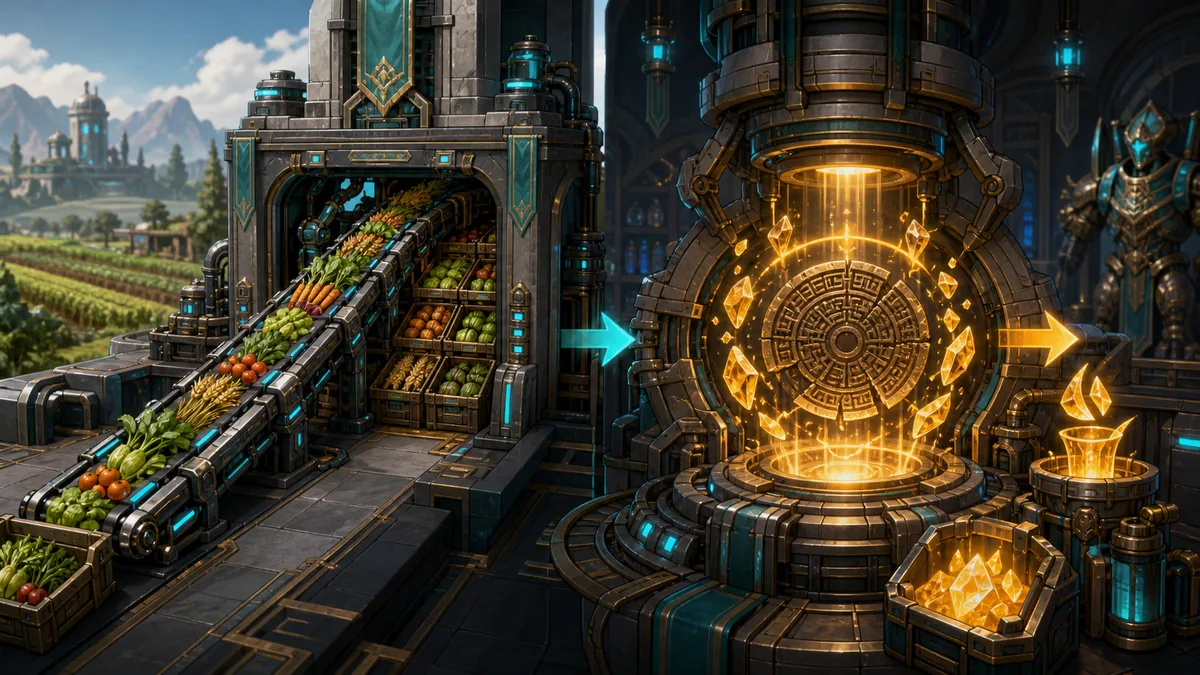
Connect ancient production and relic recycling into one measured loop
Automated farms and processing reduce repeated work, while the Ancient Relic Recycler converts scarce relics into build resources. Keep a reserve before testing the reward pool.
Automate a stable input first: food, a common crop, or a material that the next station consistently consumes. Production systems fail when transport, storage, power, or worker coverage cannot keep pace with the headline machine.
The Ancient Relic Recycler name and Ancient Civilization Relic conversion are part of the 1.0 technology set. Exact unlock levels, required additives, reward multipliers, and reward pools shown in source footage remain patch-sensitive.
Do this next
- Prove one input-to-storage loop before adding another machine.
- Recycle a small batch and record the current reward pool.
- Keep enough relics in reserve for future recipes or balance changes.
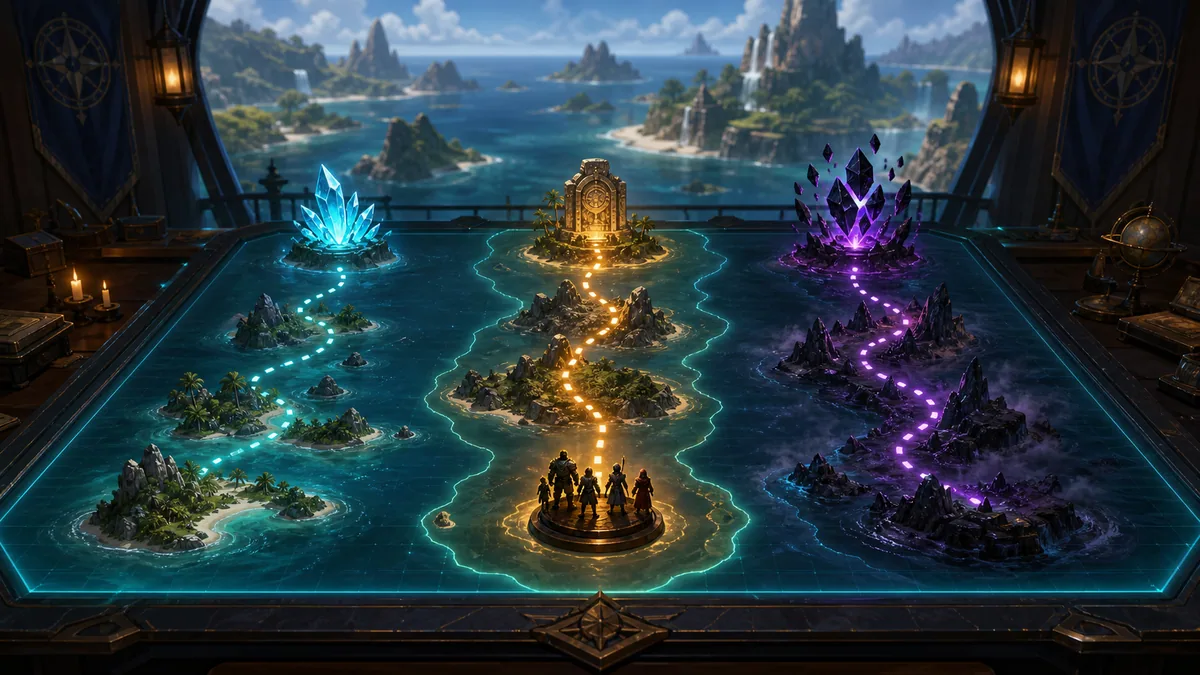
Farm a reliable expedition before selecting the hardest one
Sunreach and World Tree expeditions are confirmed high-difficulty activities. Compare completion time, failure risk, and useful rewards instead of choosing by the highest label alone.
A repeatable expedition that returns the material you need is more valuable than a maximum-difficulty run that ties up your roster or fails often. Start with the team you can consistently spare from combat and base duties.
Log the destination, assigned Pals, completion time, and rewards for several runs. Drop tables and efficiency claims need samples from the current build before they become a farming recommendation.
Do this next
- Choose the resource goal before the difficulty tier.
- Do not remove essential workers or combat Pals for a marginal reward increase.
- Compare several completed runs before calling one expedition optimal.
Palworld 1.0 tips FAQ
What is the most important early Palworld 1.0 tip?
Remove the bottleneck that repeatedly ends a session. That is usually carry weight, travel, capture supplies, food, or storage rather than raw damage.
How many captures are needed for each Capture Bonus in Palworld 1.0?
Pocketpair's official Version 1.0 changelog says Capture Bonuses now require five captures instead of twelve.
Should every exact value in an infographic be trusted?
No. Unlock levels, percentages, reward pools, inheritance rates, and fastest routes should show a current build or be labeled as needing verification.
Should players rush Sunreach or the World Tree?
Follow the reworked main mission, activate travel points, and establish a safe return loop before committing rare resources to either region.
Sources and verification
Official feature statements were checked against Pocketpair's Version 1.0 release changelog. Strategy, fastest-route, fixed-value and source-footage claims remain labeled separately until independently tested on the current build.